How to Make Bracelets: 9 Steps to Style!

Did you know that bracelets have existed since prehistoric times? They’re most popular as a form of accessorizing but they’ve been used in the past for protection, to indicate social class, and in spiritual rituals.
Bracelets today are typically made from metal but many ancient civilizations used lac, feathers, and teeth to make their bracelets. Charm bracelets can be traced backed to ancient Egypt. The charms were seen as a form of protection against evil spirits.
Now that you know some of the history of bracelets you might be interested in learning how to make bracelets. Continue reading to learn more.
Gather Your Supplies First
When making DIY bracelets the first thing you should do is gather all the supplies you’ll need. The supplies will vary with each bracelet you’ll make.
For threaded bracelets, you’ll need some embroidery floss, a good pair of scissors, and some tape. For beaded bracelets, you’ll need some scissors, a bead stopper, a ruler, a stretch cord, and clear glue.
You’ll also have fun gathering the beads for your bracelet. The style of beads is up to you but lightweight ones are best to avoid breaking the cord.
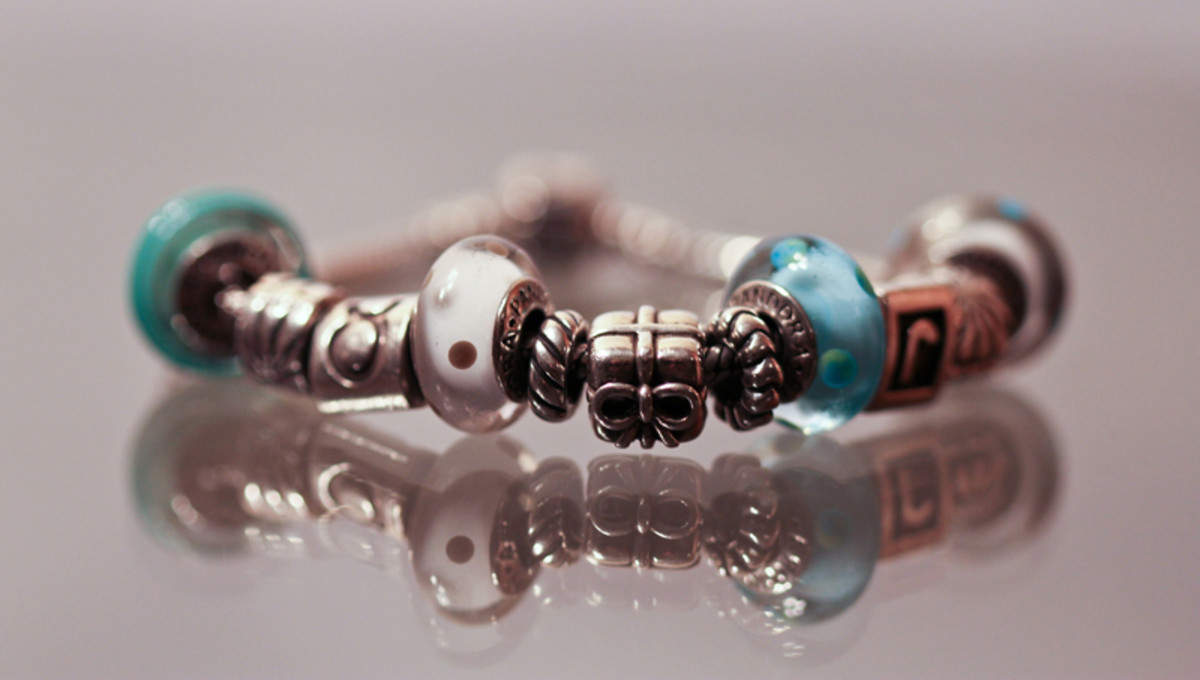
In preparation for making a charm bracelet, you should collect your charms, a chain bracelet that fits your wrist, jump rings, and a pair of pliers.
Prepare the Cord
For your threaded bracelets, your next step is to measure out and cut the thread you’ll be using. You should cut out pieces of embroidery floss at about 30 inches in length. This gives you enough material in case you run out of floss.
Using 6 strands of floss gives you the space to create a bracelet with the color design that suits you best.
When using a stretch cord for a beaded bracelet you should measure your wrist and cut the cord to be about 4 to 6 inches longer. Make sure you pre-stretch the cord to maintain its elasticity as you add the beads later on.
Choosing the Right Charms
Making your own DIY charm bracelets can be a fun project to take on. You might already have a collection of charms you’ve put together through the years. You might be looking for a group of charms that follow a similar pattern or ones that are all different from each other.
Choosing the charms that suit you best is the fun part! They can be representations of your life’s journey, reminders of the accomplishments you’ve made. Check out some of the charms for bracelets available online to find what you’re looking for.
Completing Your Charm Bracelet
Once you’ve put together the charms you want to have on your bracelet it’s time to prepare them so that they can fit on the chain bracelet.
With a pair of pliers, you’ll open the jump rings and add the charm. You’ll then use the pliers to place your charm on a hoop on the chain bracelet. Use the pliers to push the jump ring close.
Once you’ve added all the charms you’ll be done with your charm bracelet and can start wearing it and showing it off!
How to Start a Threaded Bracelet
When starting a threaded bracelet you should first determine how many strands you want to use. 6 strands give you the option of using multiple color patterns without the bracelet becoming too thick.
You’ll start the bracelet by tying a knot using the cut strands of floss at one end. Tape that end of the bracelet to a sturdy surface and separate the floss into 3 sections.
How to Start a Beaded Bracelet
Bead bracelets are simpler to start than other kinds of bracelets. Place a bead stopper on one end of the chord and start stringing the beads in the pattern you like most.
Make sure your measuring against your wrist as you work to ensure it’s the right fit. You’ll need to leave a bit of space to prevent breaking the cord when you put on the bracelet.
Perfect Your Knots
Creating the patterns of a thread bracelet requires perfecting your knots. You’ll make small knots to create a ridged look and give the bracelet some texture.
You start with the first strand on the left and pass it over the second strand and then pass beneath it. Hold the second strand and pull the first up to create your knot. Repeat this to continue making your pattern.
With your bead bracelet, you want to carefully knot the end to prevent the beads from slipping off. Take off your bead stopper and pull both ends of the bracelet together to make your knot, tying it firmly.
Finishing the Bracelets
When you make your own bracelets you have to make sure you finish them correctly to help them last as long as possible. You don’t want all that hard work to go to waste.
Once your thread is finishing up you want to tie an overhand knot, braid a few inches more and then tie another knot. Make sure to cut off any excess floss with your scissors.
Put a bit of glue on the knot of your beaded bracelet to keep it from coming undone and tuck it into the last bead on your bracelet to hide it. Cut off the extra cord on the end.
It’s Time to Wear Your Bracelet
Know that you’ve finished making your bracelets it’s time to wear them! Place your beaded bracelet gently over your wrist. Your beaded bracelets can be tied and untied whenever you want to wear those.
Learn How to Make Bracelets With This Guide
If you’ve wanted to learn how to make bracelets this guide can help you do that! Whether you’re interested in beaded or charm bracelets, all the information you need is here.
Did you find this article informative? Make sure to check out some of the other fashion and beauty blogs on our site.
Recent Posts
 What are Some Common Mistakes to Avoid While Trimming Your Beard?
 A Guide to Updating Your Skincare Routine for Summer
 5 Things To Keep In Mind When Ordering From A China Hair Factory
 Why Moisturising Your Hands Is So Important?
 What Is Your Curl Pattern Type, And How Do You Deal With It?
 Dermal Fillers: What Are Dermal Fillers, How Are They Used, And Who Uses Them?
 How Filorga Optim Eyes Works
 Reverse Balayage: A Low Maintenance Cost For Beauty in Winter
 Shape the Brows with efficient Eyebrows Tinting
 Different Types of Hair Extensions
